Table of Contents

Do you want to renovate the kitchen or bathroom in a backyard? Then write down this tip: tile paint.
This is a great way to give a new look to the environments of the house, spending little and without having to fall into that work breaker. Good right?
Keep following the post with us and find out how to make this transformation.
Tile paints: which one to use?
There are basically two different types of tile paint on the market: epoxy and acrylic. But which one is the best? It depends on your goal.
Here are the best tile paint options:
Solvent-based epoxy paint for tiles
The solvent-based epoxy paint is indicated for those who want a paint with better adhesion and resistance, including, this is one of the few tile paints that can also be applied on floors.
However, if that is your choice, prepare your pocket and put on a mask. This is because solvent-based ink is more expensive and still has the drawback of the strong smell that permeates the environment for a long time.
Another detail that deserves attention is the application of this paint. The solvent-based epoxy paint needs to be mixed in two different substances: resin and catalyst.
This dilution needs to be done very well for the painting to be efficient. Because of this, in most cases, solvent-based epoxy paint requires the presence of a professional.
Water-based epoxy paint for tiles
Do you have an alternative to solvent-based ink? Yes of course! And her name is water-based epoxy paint.
As you may have guessed, it has some advantages over the previous paint.
Water-based paint has practically no smell, which is great for interior renovations. Another advantage is the price, since it is much cheaper than solvent-based paint.
The application is also facilitated, since this paint is ready for use and does not require mixtures or dilutions.
What’s the problem then? The water-based paint is less resistant and depending on the location of the application it may not last for a long time. This paint is also not suitable for application on floors.
Acrylic paint for tile
Another option for painting tiles is acrylic paint. Very similar to the previous option, this type of paint has only the difference of not bringing epoxy resin in the composition.
This makes it less resistant and its ability to adhere to ceramics also decreases. Acrylic paint is also not recommended for damp or wet areas, such as bathrooms. Prefer to use it in kitchens, for example, where the humidity is much lower.
The positive points of acrylic paint are that it has no smell and is also cheaper than solvent based epoxy paint.
Modes of application of paint for tiles
Tile painting is not, nor does it always have to be, know? Here are some options on how to apply the paint.
Painting a color
One-color painting is the most traditional of all, but no less beautiful or efficient. This type of painting is characterized by the application of the same paint over the entire surface of the wall.
One-color painting is also widely used when there is a need to paint all the tiles on all the walls of the bathroom or kitchen, giving a light and harmonious look to the environment.
Half wall painting
An interesting and very modern way to innovate in the painting of tiles is adhering to the trend of the half wall.
Here, you have the option of keeping one of the wall halves in the original color of the tiles or, if you prefer, choose two different colors for each part of the wall.
Try to combine the tones with each other so that they also harmonize with the decor of the environment.
Geometric painting or with drawings
Geometric painting can also be applied on tiles. To do this, simply delimit the drawing area with masking tape and then perform the painting. When removing the tape automatically the drawing is registered on the wall.
This tip works very well in the case of painting just one wall or to bring a different, modern and stripped touch to the environment.
Painting matching the furniture
What color are the furniture in your kitchen or bathroom? You can paint the tiles following the color of this furniture causing a mimicry in the decoration, that is, furniture and walls are confused.
This technique is very welcome in small environments, as this way the feeling of amplitude is greater, especially if the paint is light in color.
Colorful and vibrant painting
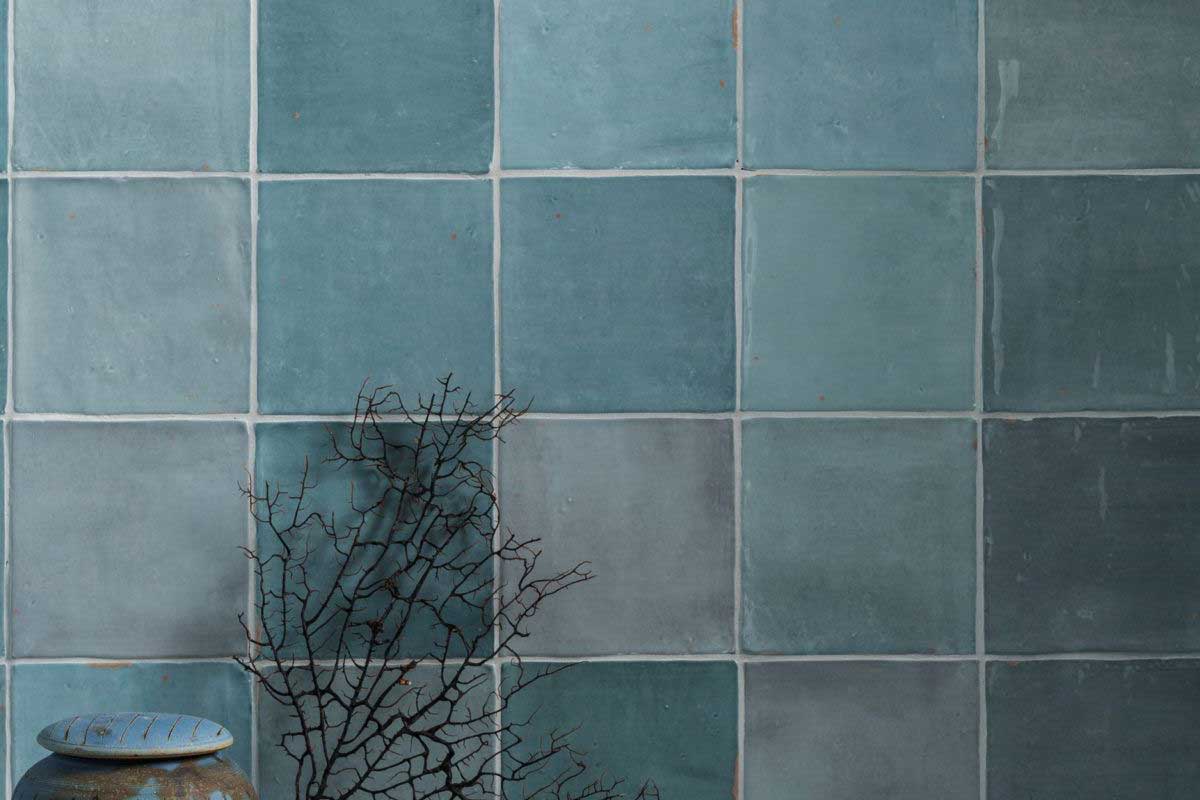
Have you ever thought about painting the tiles in gold yellow, lime green or turquoise blue? This is a great idea when the intention is to create a contemporary and original environment.
How to paint tile: step by step
When painting the tiles, you have two finishing options: the painting with apparent relief and the smooth painting.
What’s the difference between them? Very simple: the painting with apparent relief maintains the texture and the mark of the grout, that is, you look and continue to see that there are pieces of tile installed there.
In the case of smooth painting, it is as if you visually disappeared with ceramics. Like? From the application of acrylic putty. This mass gives a smooth and uniform finish to the surface, leaving the wall as if it were masonry.
As you may already imagine, the second option is more laborious and, therefore, more expensive as well. The first option, however, can easily be done by yourself.
However, before just thinking about the budget, evaluate the result you want to achieve in the end. You may spend a little more, but the result pays off in the end. Here’s the step by step for each of these types of tile painting:
Smooth tile painting
Smooth painting involves more processes than painting with apparent relief. Check below the materials needed for this type of painting:
- Acrylic putty (do not use spackle as it does not adhere to ceramic)
- Sandpaper
- Epoxy paint for tiles (water or solvent based)
- Sponge
- Dry cloth
- Detergent
Start the painting by cleaning the tiles very well. To do this, use a sponge with water and detergent. Pass all the tiles, including the grout. Rinse or remove excess soap with a cloth. Wait for complete drying. If any ceramic is broken, replace it.
The next step is to apply the acrylic putty. The intention here is to fill the joint space between the tiles and the grout, giving a smooth and uniform appearance to the wall.
After applying the acrylic putty, wait for it to dry and sand the entire wall. Remove the dust and then you can apply the tile paint.
Apply the first coat and wait for the drying time. If necessary, apply a new coat.
Tile painting with apparent relief
Tile painting with apparent relief is simpler and faster than smooth painting. For this painting you will need:
- Tile paint (of your choice)
- Fine sandpaper
- Sponge
- Dry cloth
- Detergent
Start by cleaning the tiles thoroughly with the help of a sponge soaked in detergent. Rinse and dry well with a soft cloth.
Then, check the joints and fill in the joints as needed, use acrylic putty or standard grout. If any ceramic is broken, replace it.
The next step is to apply the paint. Follow the manufacturer’s recommendations printed on the can.
Apply the first coat, wait for the indicated drying time. Then gently sand the wall with the tiles, remove excess dust and apply the second coat.
If necessary, apply a third coat for better coverage.
Did you have any questions? The following videos show the illustrated step by step, check out:
How to paint tile
How to paint tile with acrylic putty
Did you see how simple and easy it is to change the face of the tiles in your house? But before getting your hands dirty, check out the images we’ve selected below. There are 40 ideas to inspire your reform.
01. Painting of bathroom tiles. Here, the paint goes from floor to ceiling.

02. Half wall tile painting. Use contrasting colors to guarantee an original and modern result.

03. Kitchen tile painting: a more practical way to renovate environments.

04. How to transform a bathroom while spending little overnight? Painting the tile!

05. Painting of tiles in a mint green tone. To paint the floor use solvent-based epoxy paint, as it is more resistant and durable.

06. Half red, half white.

07. Tile painting with geometric designs, after all, you can always innovate.

08. Blue to calm and brighten this old bathroom renovated by painting the tiles

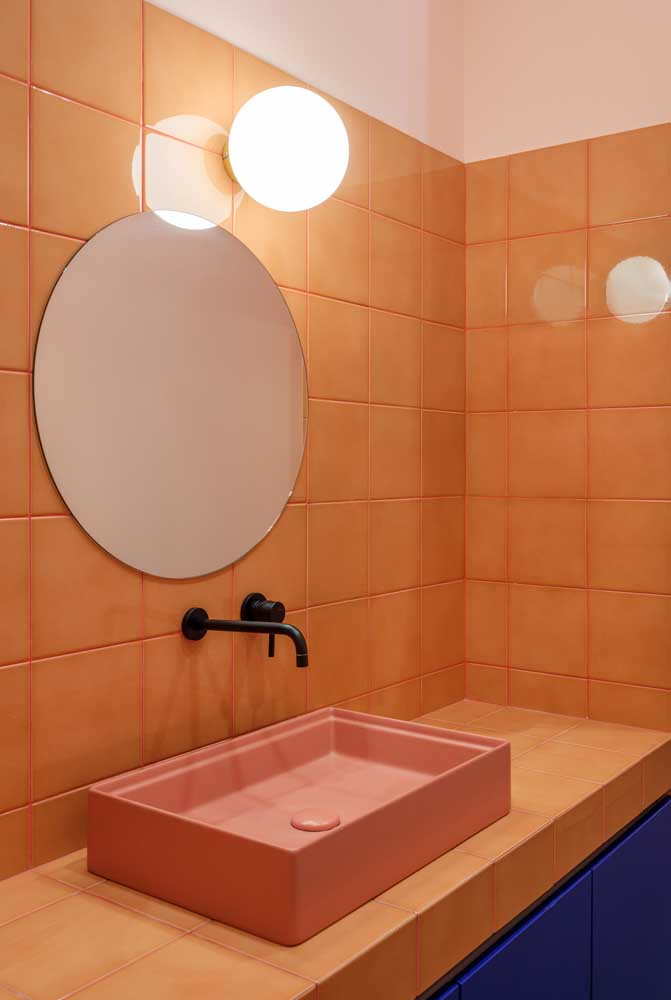
09. Orange tile in the color of the countertop.

10. Here, even the door entered the renovation and was given the same color as the tiles.

11. A charming detail in the tiles. Everything done with paint, of course!

12. A new painting and… tcharam… everything changes.

13. For wet or very humid places it is recommended to apply solvent-based epoxy paint.

14. White tile paint matching the bathroom decor.

15. You don’t need much to transform your bathroom. Look what the paint is capable of doing!

16. Paint up the decorative strips used between the ceramics.

17. Half wall, half tile. Enjoy and paint the door too!

18. And if the tiles are everywhere, you already know: paint everything.

19. Who knew, but here it was enough to apply the paint to renew the toilet

20. Blue and pink for a modern and creative bathroom.

21. Have you thought about having a new kitchen every year? This is possible by painting the tiles.

22. Everything blue!

23. Warm and welcoming: the new paint brings that energy.

24. Dare to choose colors and change the look of your kitchen.


