Table of Contents
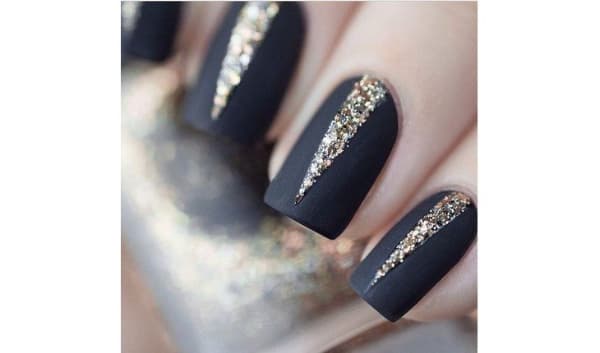
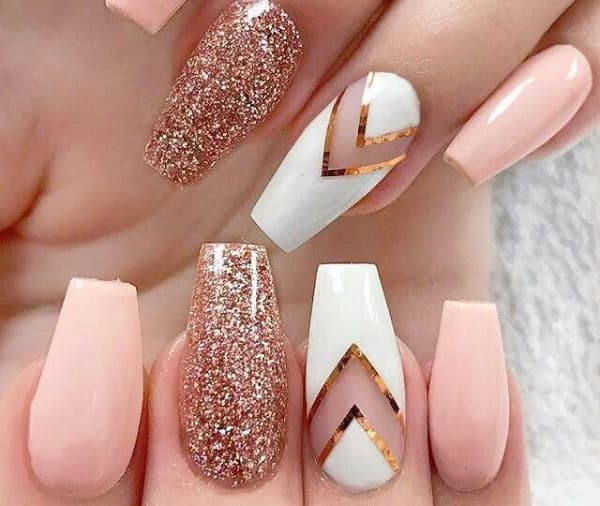
Nowadays there are several decorations for nails. Every year there are new features, either in the decoration or in the making of enamels. You may have already known the traditional glitter enamels, the crackles, metallic ones, among many others that were new. Now it’s time for the glow, check it out models of nails decorated with glitter, photos.

Nail designs decorated with glitter, photos
The shine has several subdivisions in the world of enamels. There are 3D, glitter, holographic and rhinestones that can be rhinestones, studs, rivets and so on.
The rhinestones on the nails is making the biggest success in several salons, it provides a special charm and very delicate nails. It can enhance the designs that were made on the nails as well as can be applied on the nails, as a decoration.
How to apply rhinestones on nails:
– First you see the model you want to form on your nails!
– After choosing the model it is time to separate the necessary material, you will need tweezers to remove the rhinestones from the package and to fix it on the nail, a toothpick to fix the rhinestones on the nail and extra-shine, or proper glue .
– Put extra shine on the nails and then with the tweezers take a rhinestone and place on the nails and with the toothpick place the rhinestones where you want and tighten it over the nail with the other part of the tweezers.
– After applying all the rhinestones, apply a layer of extra-shine only over the rhinestones so that they become brighter.
Holographic enamel has small particles that stand out amid the color of the enamel and promote a specific illuminated effect. These small particles have a different pigmentation than the entire color of the enamel. The brightness is very intense and with 3D effect.
Thumbtacks are also a good option among nail designs decorated with glitter. see below how to make nails with thumbtacks:
Attention in the materials you will need:
– 1 colorless enamel tube.
– 1 black enamel tube.
– 1 everything glues.
– several microtachets – found in haberdashery
– 1 tongs to place the tacks.
Now carefully follow step by step:
- Do the nails. Make your nail as usual. Sand, leaving it round or square. Remove the cuticle if you are used to doing this, otherwise just push the cuticle with a spatula for it.
- Colorless enamel. Apply a very thin layer of colorless enamel, just to line the nail.
- Black nail polish. Apply a thick layer of black enamel, if necessary repeat the action.
- Glue. Now, with the help of tweezers, put pin by pin on your nail. Make the design you want, make a die or distribute one by one. But first put glue behind the thumbtack and then paste. Ready finish with a layer of colorless enamel.
Photos of nails decorated with glitter


